Media Library
The Media Library is the heart of Evervideo. It brings every video and music file you can access — from connected cloud services, NAS shares, downloaded files, your Photos library, and the Music library — into a single, searchable hub. You can browse by Albums, Genres, Playlists, Recents, Favorites, All Videos, and Unplayed Videos, and Evervideo automatically tracks watch progress so you can resume any title exactly where you left off.
You have two ways to add media to your library: manual addition (you pick exactly what gets added) or automatic synchronization (Evervideo scans designated cloud folders and adds new files automatically as they appear).
Manual Addition
To manually add videos and music, tap the Add Media icon in the top-left corner and pick folders or files from a connected cloud storage service, a NAS share, a media server, or files located on your device. When you add files to the library, only links to them are created — the actual content stays in its original location to save valuable disk space. If you want to make media available offline, use the Download action from the options menu or enable Offline Mode for folders, albums, genres, or playlists.
On Mac, you can also drag-and-drop files into the library window.
Continue Playback
Restore the player state from the last saved position if Save Player State is enabled in Settings → Player → General. Once enabled, a Continue Playback button appears at the top of every folder, album, genre, and playlist screen — tap it to jump straight back to the exact video and position you last left.
Evervideo also tracks per-file playback progress so that even when you didn’t use Continue Playback, every video in a list shows a small progress bar indicating how much you’ve already watched. This makes long TV shows, lecture series, and tutorial collections especially easy to manage.
Locations
All the videos in your library are thoughtfully grouped by source type. You can filter videos by location using the More Actions button in the top-right corner and selecting Filter.
Online Videos
This section shows videos from your connected cloud storage services, NAS shares, and media servers (Plex / Jellyfin / Emby / Subsonic / Navidrome). The videos here are streamed on demand; nothing takes up local storage until you explicitly download them or enable offline mode for the containing folder.
Files in This Application
Here you can find videos available for offline playback, sourced from your local files. This includes files in the app’s Documents directory — anything you downloaded, transferred via Wi-Fi Drive, or imported through Finder File Sharing.
Files on This iPhone / iPad / Mac
This category includes videos imported into the application from your device, added through the Open Files… system dialog. The original files stay in their original location; Evervideo just keeps a link to them.
Photos Library
Evervideo can browse and play every video stored in your iOS Photos library — all camera recordings, screen recordings, downloaded clips, and AirDropped video files. The library is split into convenient buckets:
- All Videos — every video in Photos, regardless of length.
- Short Videos — clips under 60 seconds (great for memes and quick captures).
- Medium Videos — between 1 minute and 5 minutes.
- Long Videos — 5 minutes and longer.
- Screen Recordings — only iOS Screen Recordings.
- Albums — videos grouped by your Photo Albums (including iCloud-shared and Smart Albums).
This means you don’t have to copy anything out of Photos to watch it in Evervideo with subtitles, Picture-in-Picture, the equalizer, or Chromecast.
iOS Music Library
Evervideo also reads videos from the Music app library (anything you’ve purchased from iTunes, ripped from your own DVDs, or added through Apple Music’s offline downloads where applicable). You can browse by Albums, Genres, and Playlists — without copying or transcoding.
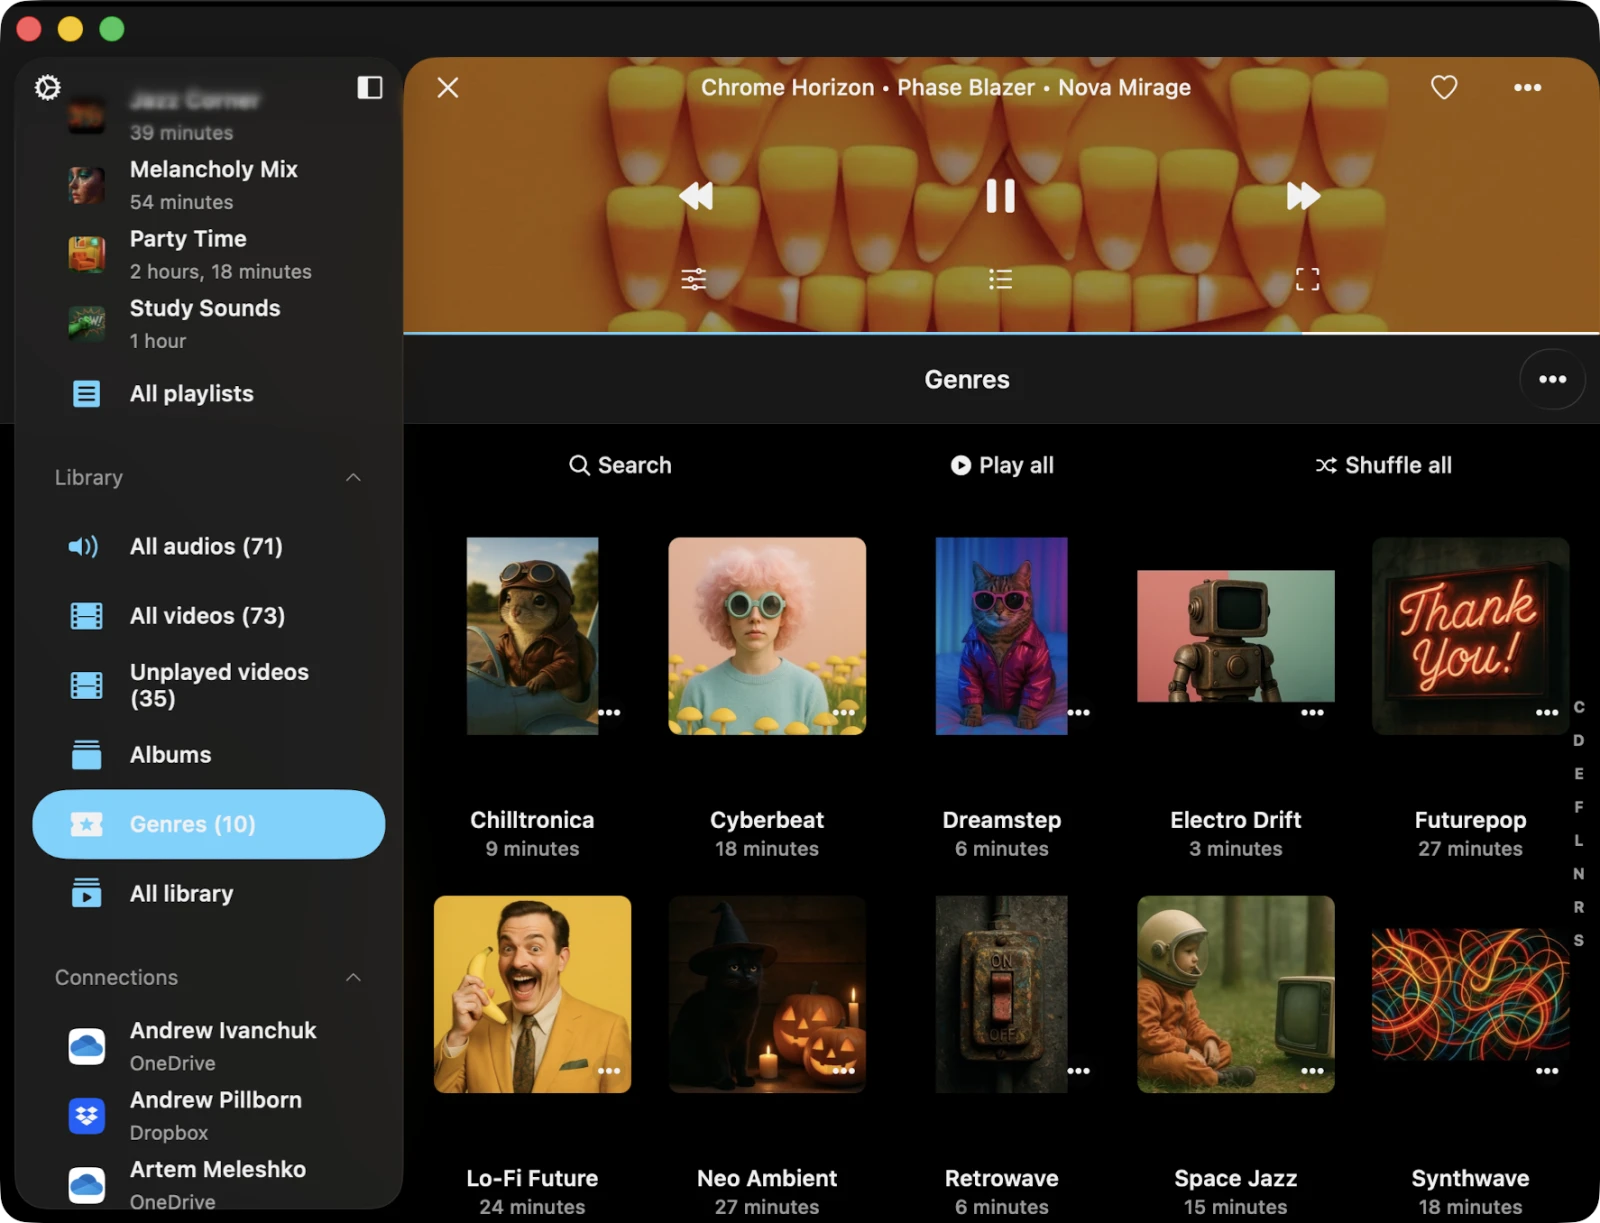
Categories
When you add videos to your media library, Evervideo automatically reads their metadata and organizes them into categories.
Tags Grouping
These categories help you organize your videos by metadata. When you add videos to the library, the app reads their tags and groups them by:
- All Videos — every video in the library, sorted by title.
- Unplayed Videos — videos that have never been played all the way through.
- Albums — videos grouped by the ALBUM_NAME tag (handy for series and box sets).
- Genres — videos grouped by the GENRE tag.
- Playlists — your own playlists, in the order you created them.
- Recents — videos you’ve recently played.
- Favorites — videos you’ve marked as favorites.
If you don’t see all your titles, ensure the app has scanned every file. You can check the scanning progress in Settings → Media Library → Metadata Reading → Number of Processed Files.
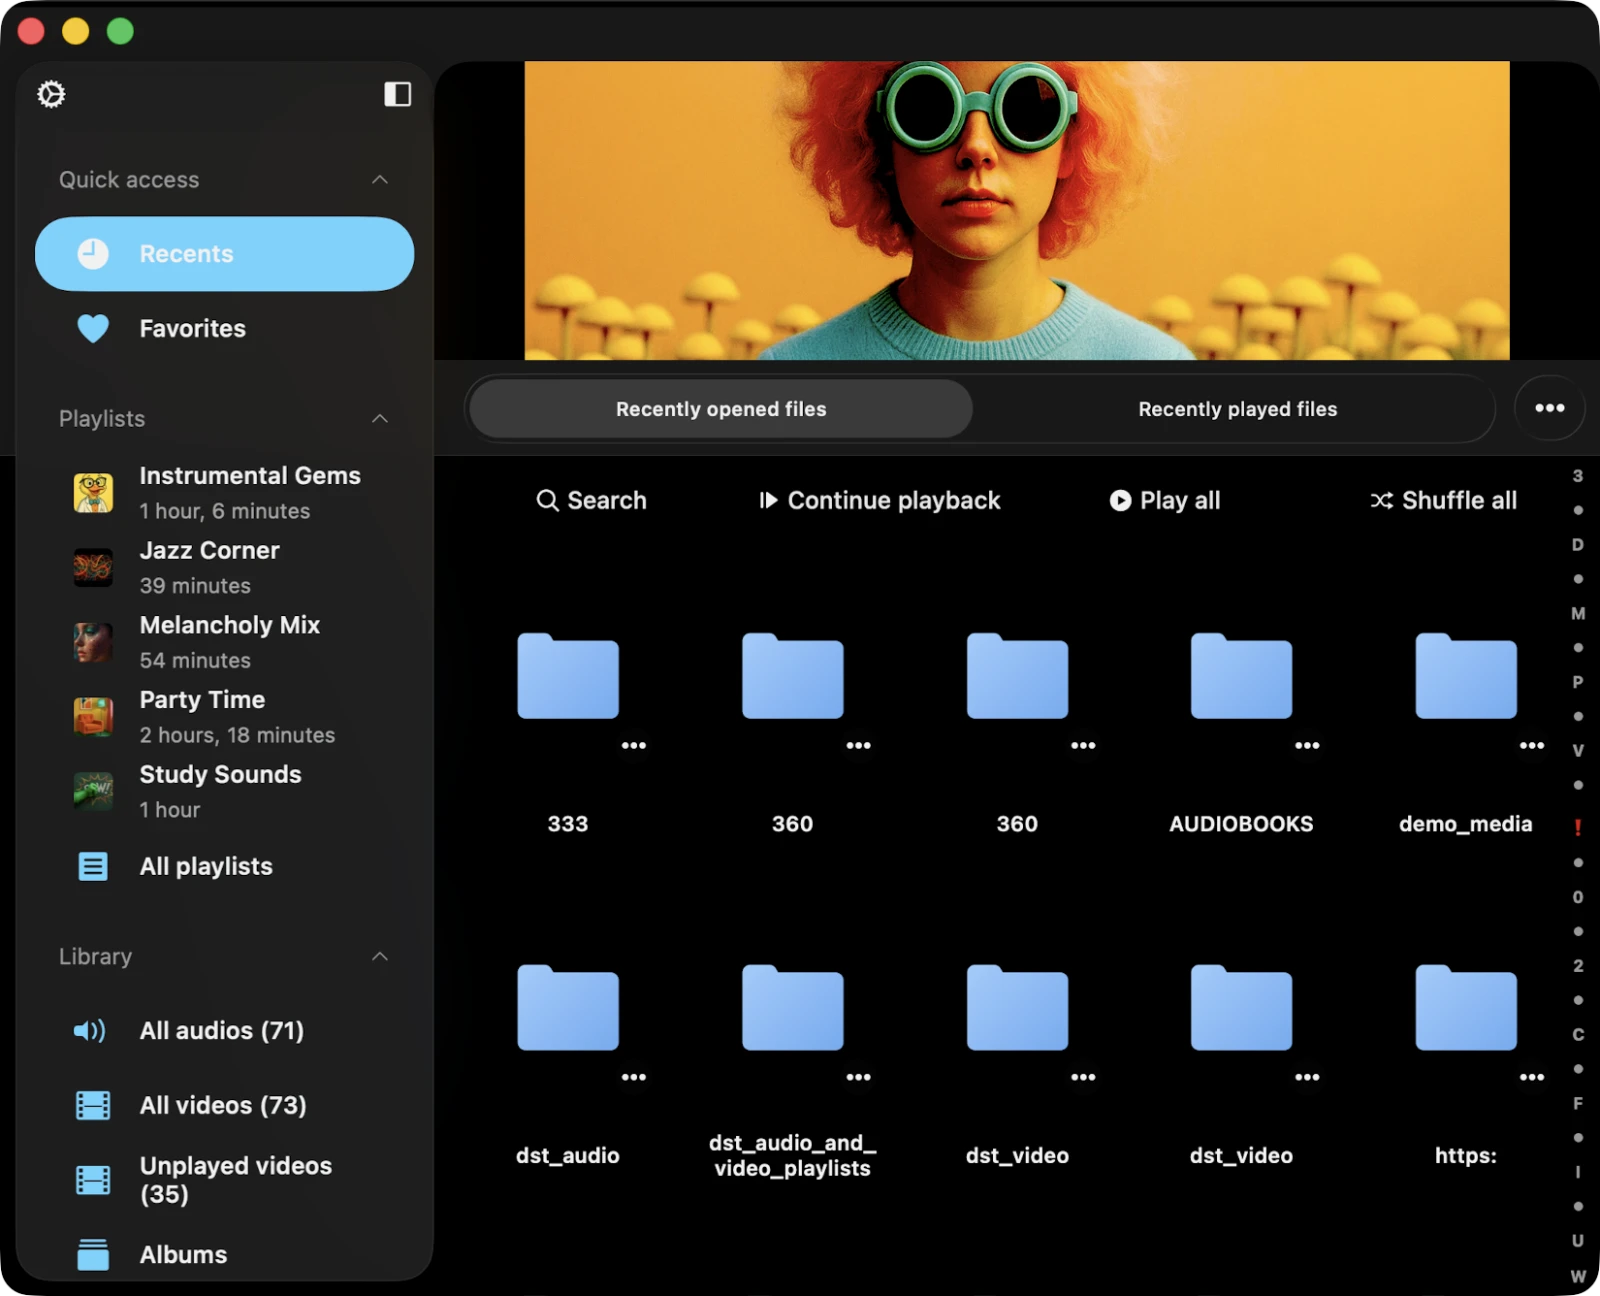
Recents
This section displays all recently played videos with their last playback position, so you can resume any of them with one tap. You can change how many entries the list keeps in Settings → Media Library → Recents → Change List Size, and export the list to M3U / CSV / TXT to back up your watch history.
Favorites
Mark videos as favorites on the player screen or via the options menu. Favorites appear in their own section so you can find them in one tap.
Watch Progress
Evervideo tracks the playback position of every video you watch. Each video in any list — Recents, Favorites, an album, a genre, a playlist, a folder — displays a small progress bar so you can see at a glance how much of it you’ve already watched. This makes long TV-show seasons, course playlists, and binge-watch nights effortless to manage.
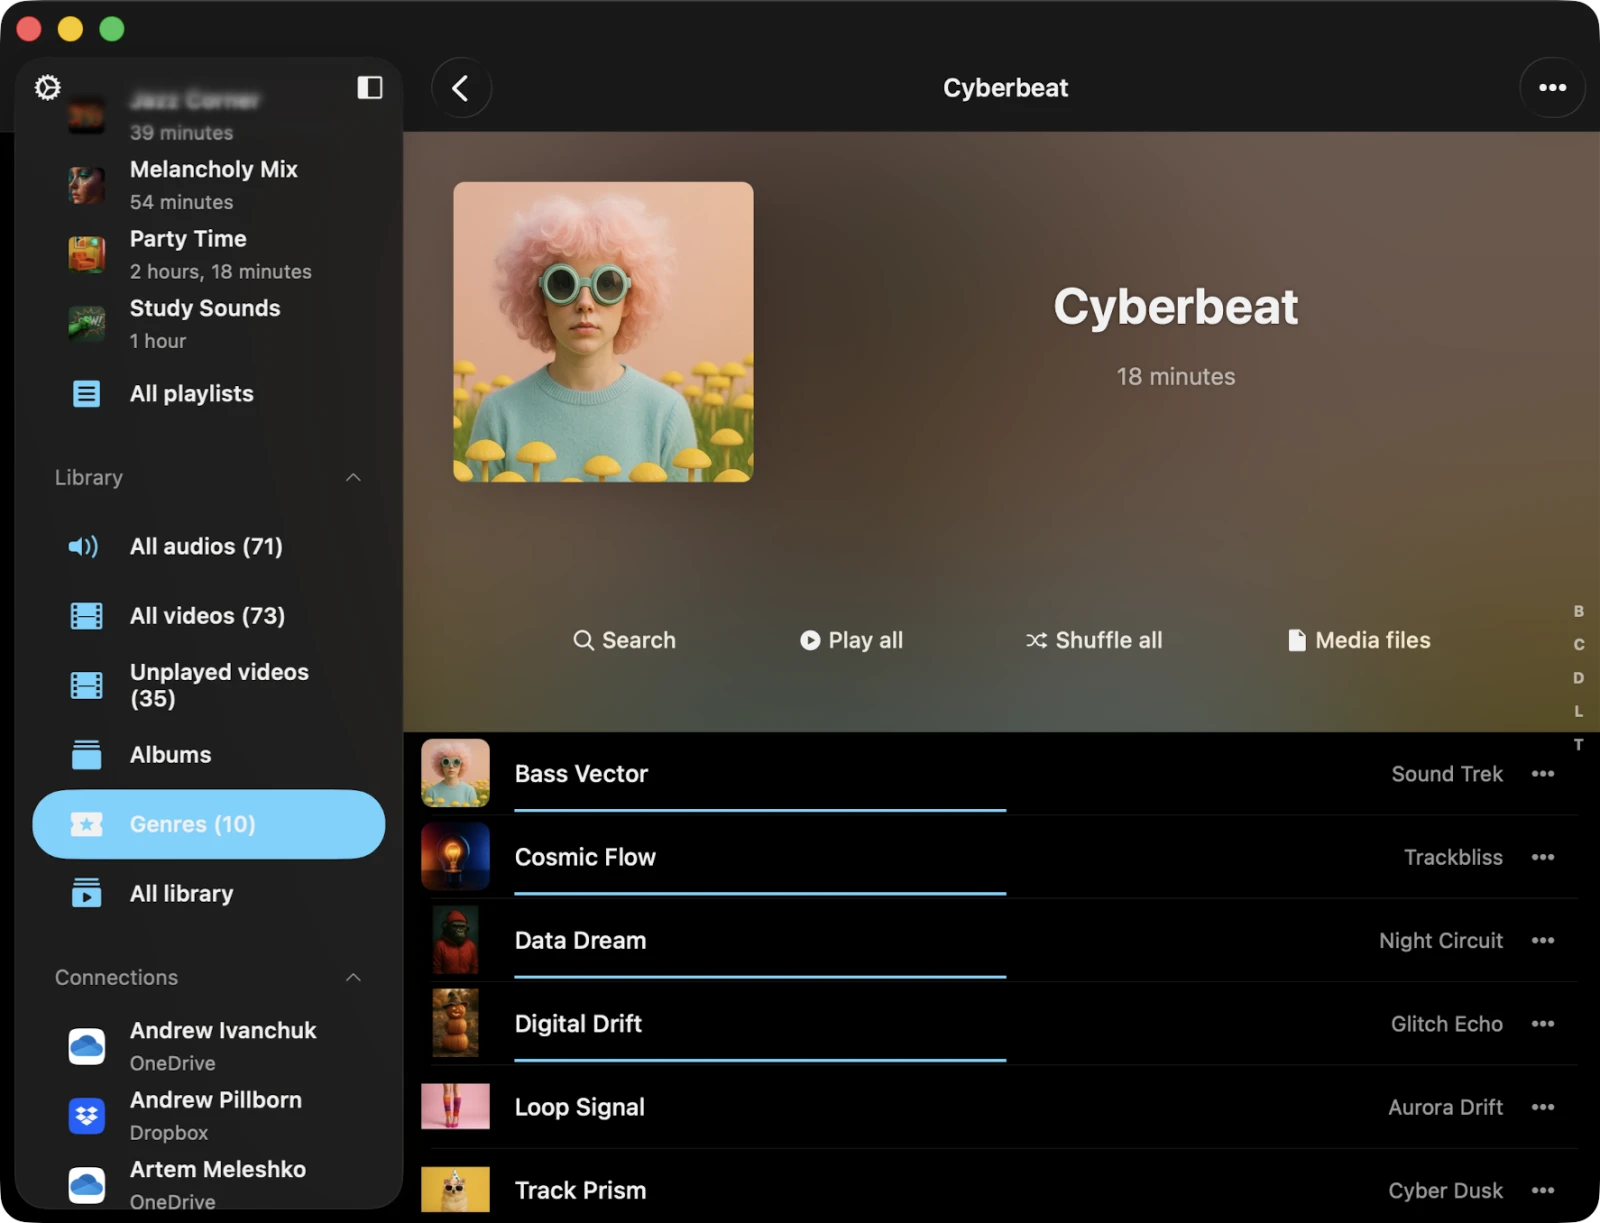
Top Toolbar
Located just beneath the navigation bar, the top toolbar offers several convenient actions: Search, Play All, Shuffle All, and Continue Playback. You can reveal or hide this toolbar with a simple swipe-down gesture.
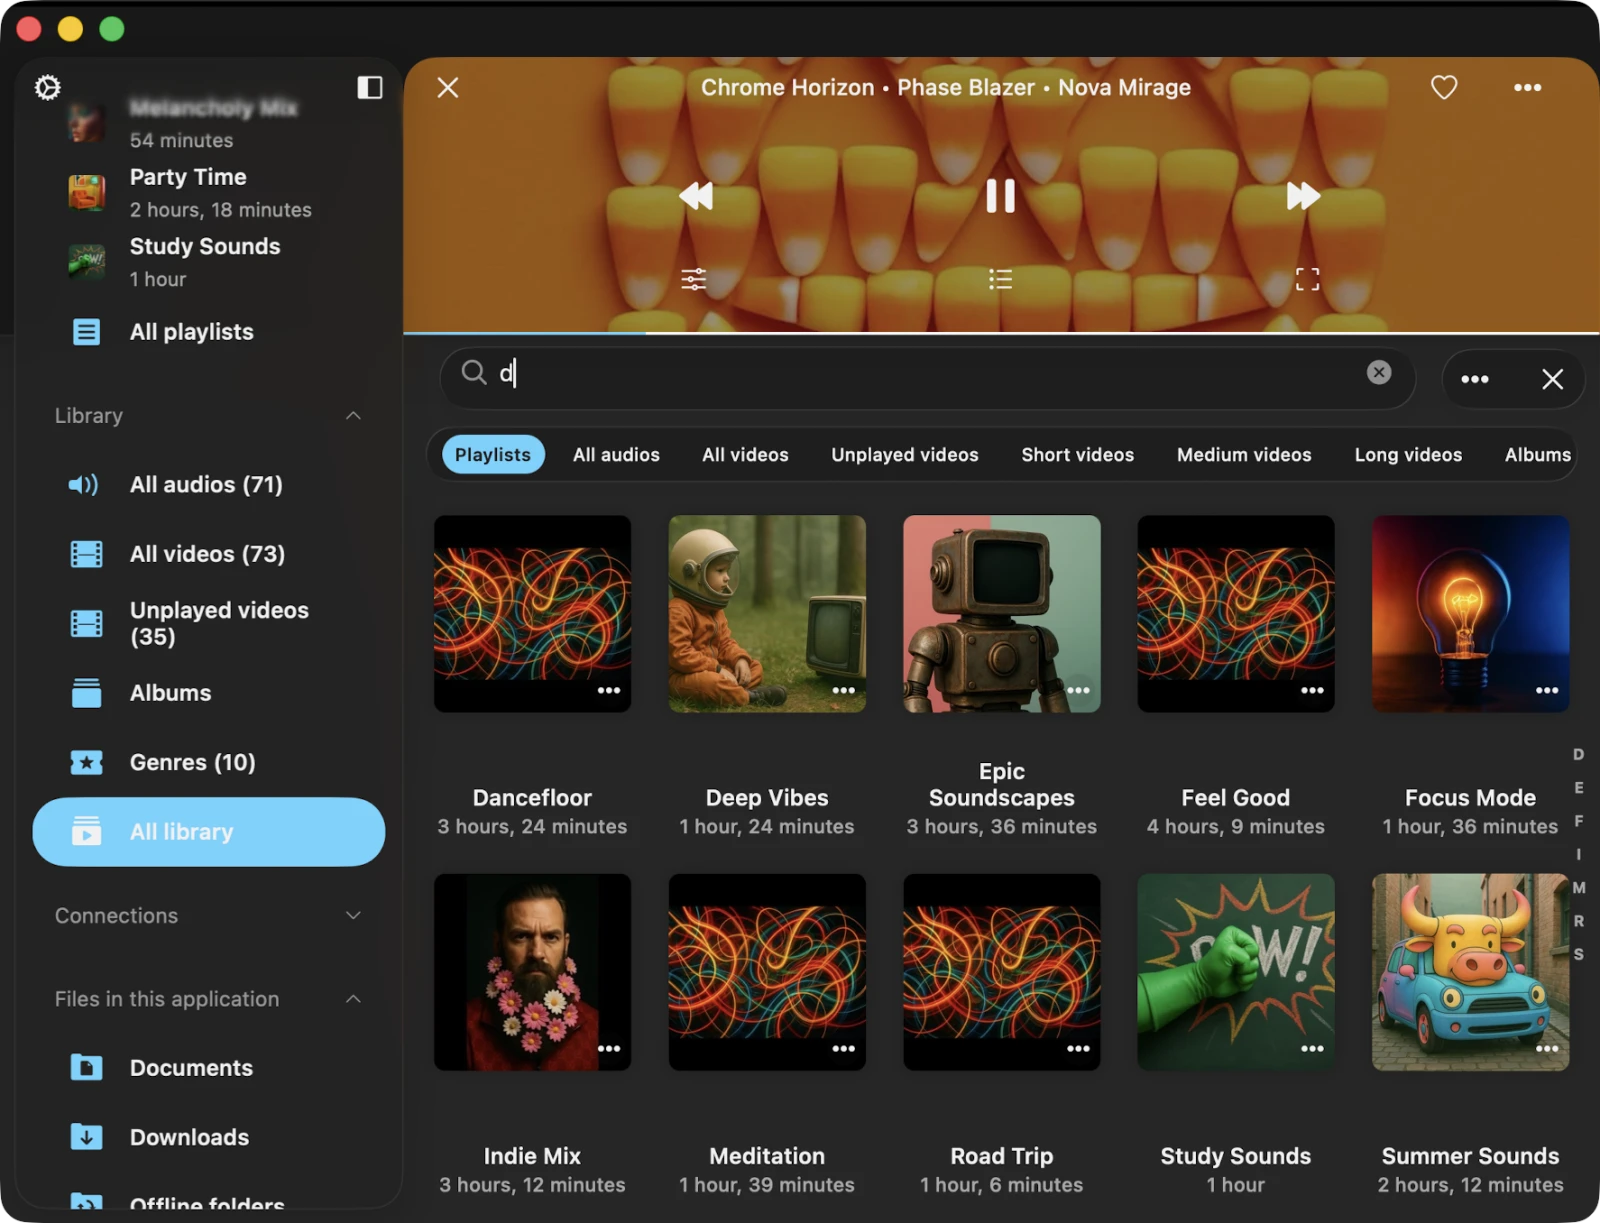
Search
The search feature empowers you to locate a specific title, album, genre, or playlist within your media library. Within the Search screen, you have access to Sort, Filter, and Grid / List view actions. Search runs locally against the media library database, so it works fully offline and returns results as you type.
Options Menu
Each video in your library has a menu of more actions, accessed by tapping the three-dots button near the video title. These actions vary depending on whether it’s a single video or part of a collection.
For Individual Videos
- Play Next — adds the video to the top of the player queue.
- Play Later — appends the video to the bottom of the player queue.
- Add to Playlist — adds the video to a playlist.
- Add to Favorites — marks the video as a favorite.
- Download — saves the video to local files for offline playback.
- Edit Tags — opens the built-in tag editor to fix missing metadata.
- Show in Folder — reveals the folder where the video file is stored.
- Show in Finder — for files imported from your Mac, reveals the folder in macOS Finder.
- Open In — exports the video file to another app.
- Delete from Cloud Service — removes the file from both the media library and cloud storage. This action is irreversible.
- Delete from Media Library — deletes the video from your library, but the file remains in storage. If automatic sync is enabled and the file exists on the remote storage, it will reappear after a sync.
For Collections (Albums, Genres, Playlists)
- Play All — replaces the player queue with videos from the selected collection.
- Play Next — adds the videos to the top of the player queue.
- Play Later — appends them to the bottom of the queue.
- Add to Playlist — adds them to a playlist, with the option to create a new one.
- Enable Offline Mode — downloads videos from the collection to local files. New items added on the server are downloaded automatically.
- Edit Image — change the cover image for the collection.
- Add to Archive — bundle the entire collection into a single ZIP (Premium).
- Export Songs List — export the collection to M3U, CSV, or TXT.
- Delete from Media Library — removes the collection from the library but does not delete the source files.
Selection Mode
You can activate selection mode using the More Actions button in the top-right corner. In this mode, you can select multiple videos at once and perform batch actions — add to playlist, mark as favorite, delete from library, download, and more.
Settings
Tap More Actions → Settings to configure your media library preferences — including metadata reading speed, online and offline sync folders, library presentation style, album cover quality and search, playlist duplicate behavior, recents list size, and favorites simultaneous editing. See the Settings guide for the full breakdown.
Delete Media Library
In Settings → Media Library → Delete Library, you can erase the media library database. Your video files on storage are left untouched.