How to Change Album Covers for Local Tracks on Spotify: Step-by-Step Guide (Mobile & Desktop)
Intro
Looking to personalize your Spotify music collection with custom album artwork? While Spotify doesn’t let you change covers for its streaming catalog, you can update album covers for local music files added to your library.
In this step-by-step guide, you’ll learn how to change album art for local tracks in Spotify using both mobile (iOS) and desktop (Mac) apps. Whether you’re fixing incorrect artwork or adding custom visuals to your MP3s, this guide will walk you through the process.
To make things easier, we’ll show how to edit album artwork using the Evertag app — a powerful audio metadata editor that supports over 120 audio tags and 30+ file formats. It’s perfect for updating ID3 tags and album art on your iPhone or Mac.
Download the App
Start by downloading the Evertag app from the App Store. It’s free to use and available on both iOS and macOS.
Activate Local Library in Spotify
By default, the Local Files Library is disabled in the Spotify app. If you want Spotify to show and play music files stored directly on your iPhone, iPad, or Mac, you’ll need to activate this feature first. Here’s how to enable it step by step:
Open the Spotify App
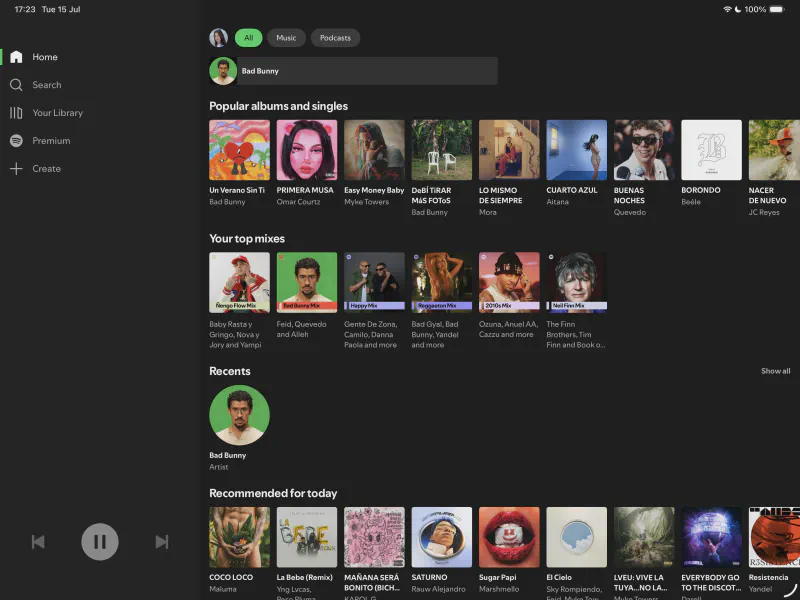
Tap on Your Profile Icon
Look in the top left corner of the Spotify home screen and tap your profile picture to open the menu.
Choose “Settings and Privacy”
Scroll down the menu and select Settings and Privacy to open the full list of options.
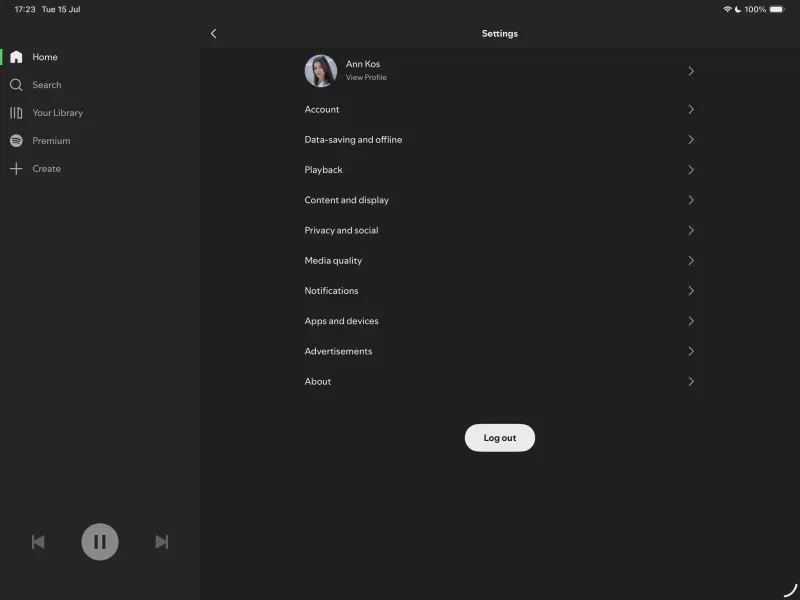
Select “Apps and Devices”
Find and tap the Apps and Devices menu item to view device integration settings.
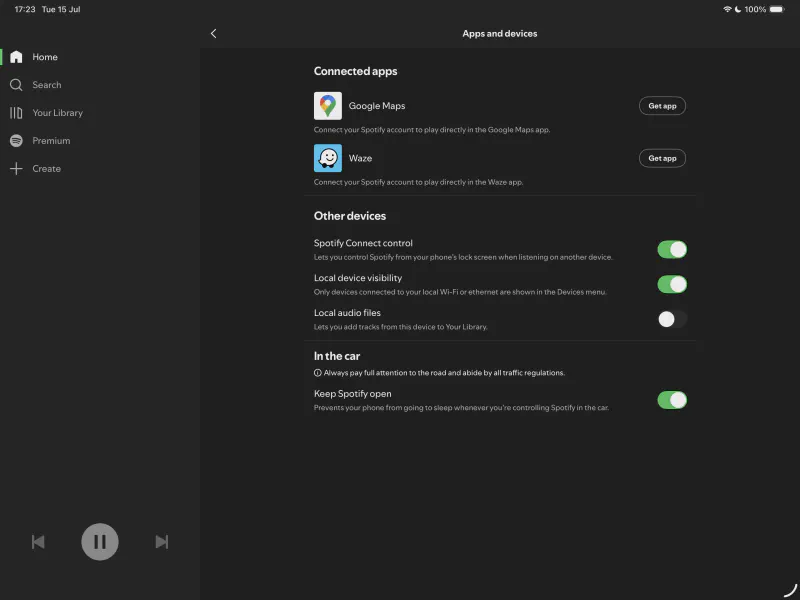
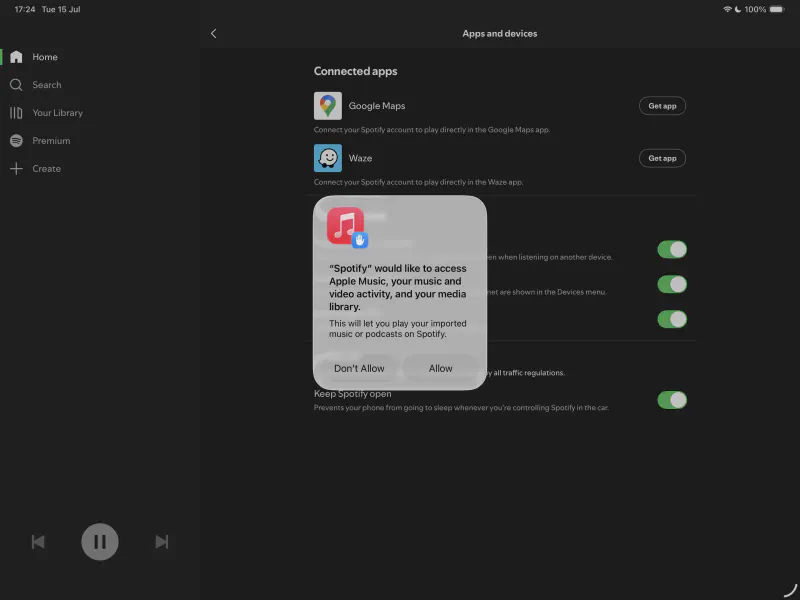
Toggle On “Local Audio Files”
Turn on the switch for Local Audio Files. When prompted, grant Spotify permission to access your music files.
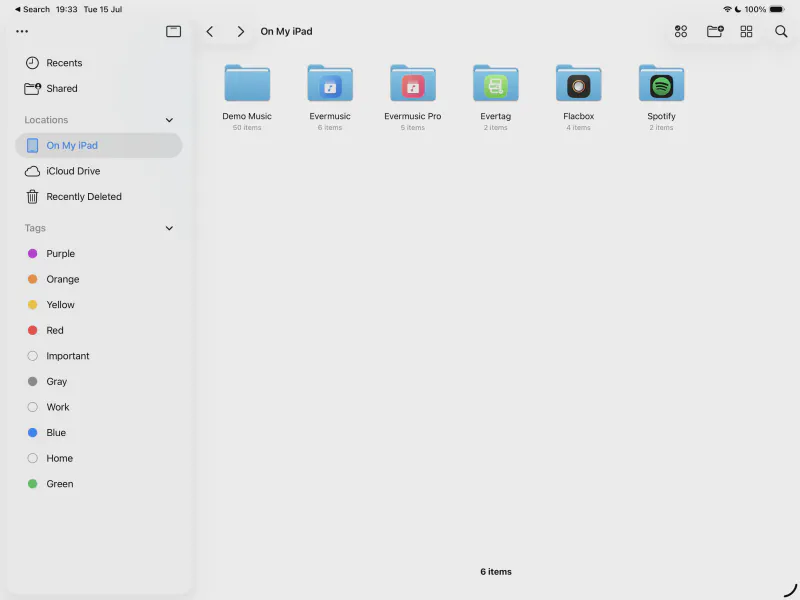
Check Spotify Folder
Once permission is granted, open the Files app, go to Locations > On My iPhone/iPad, and find the Spotify folder. This is where local music files should be placed.
Put Music Files into Spotify’s Local Library Folder
Now that you’ve enabled Spotify’s local library, you can transfer music files into the Spotify folder using two methods:
- Via iTunes File Sharing as shown in this tutorial
- Using the native Files app
Below are instructions using the Files app method.
Open Files App – Locations – On This Device
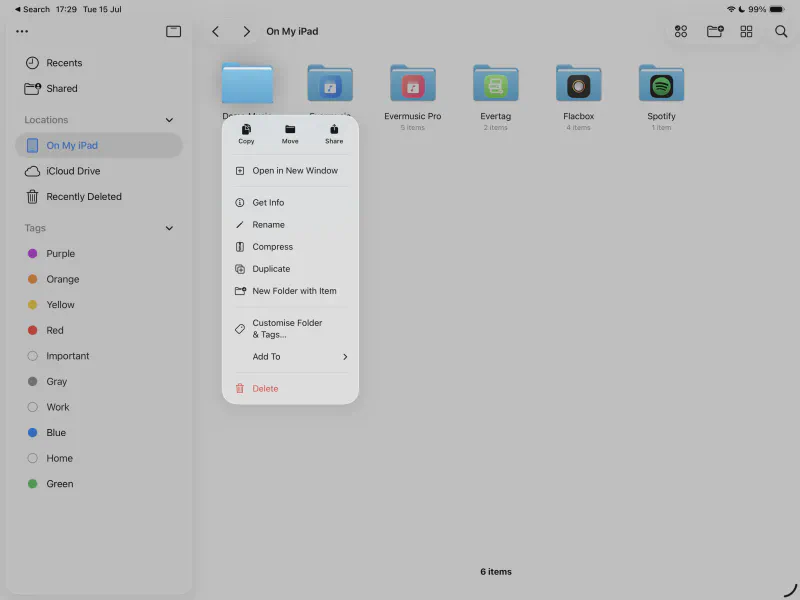
Copy Music Folder
Navigate to your Music folder. Tap and hold it to open the context menu, then choose Copy.
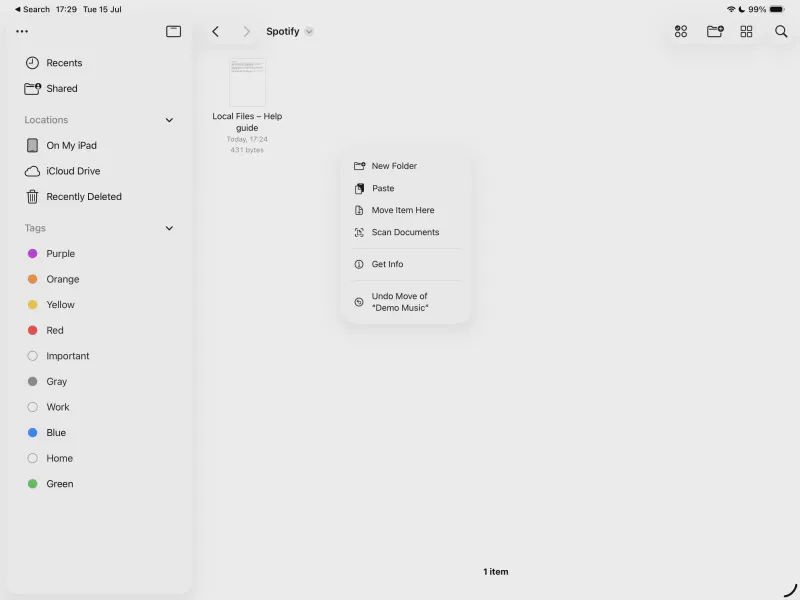
Paste Music Folder
Navigate to the Spotify folder, tap and hold on a blank area, and choose Paste from the context menu.
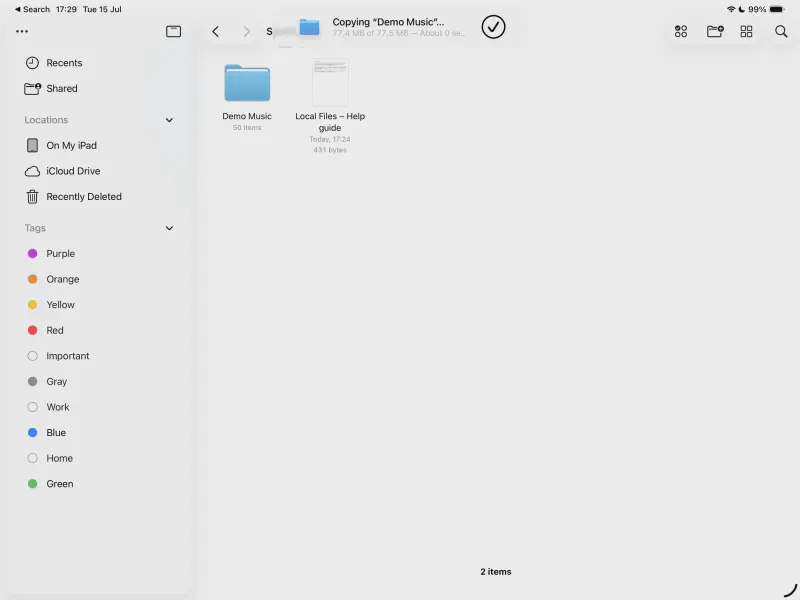
Wait for the Copying Process
Wait until the system finishes copying your music folder to the Spotify local directory.
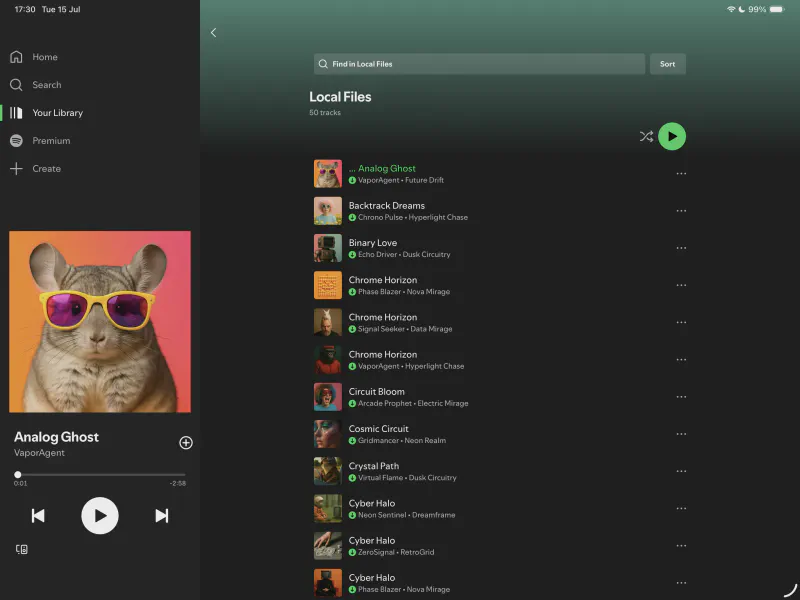
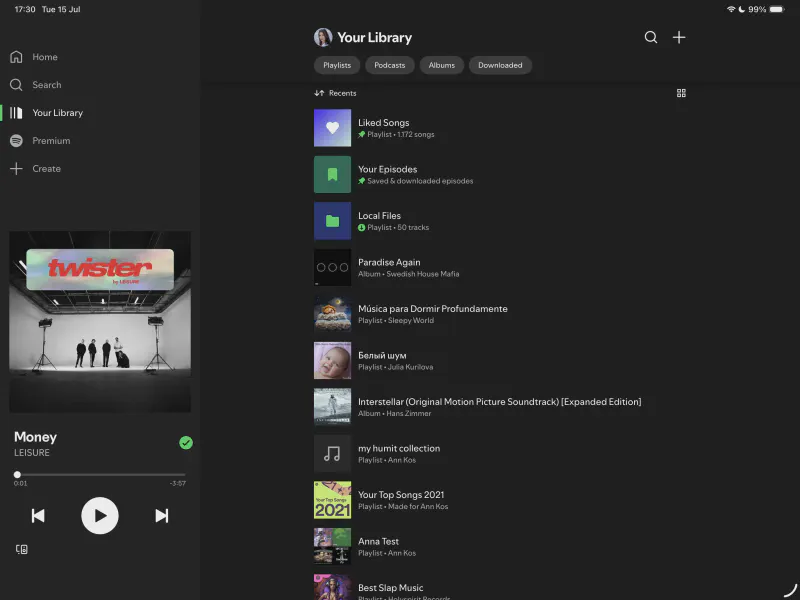
Open Spotify Local Library
Now go back to the Spotify app. Tap Your Library > Local Files, and you’ll see the music files you just copied.
Connect Spotify Folder in the Evertag App
Now that your files are copied to the Spotify local folder, you might want to clean up their metadata and add proper album covers. To do that, use the Evertag app — available on iPhone, iPad, and Mac.
With Evertag, you can manage audio metadata for:
- Local files (stored on your device)
- Cloud files (stored in Google Drive, Dropbox, etc.)
Connect a Local Folder
You can edit metadata directly from folders without importing the files.
iOS
- Go to Local Files > Files On This Device
- Tap Connect a Folder
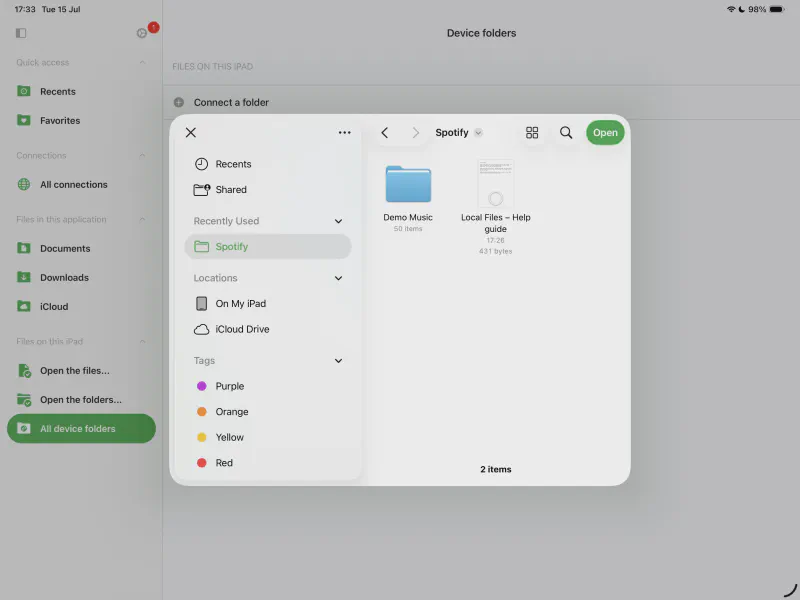
- In the file picker, choose the Spotify folder and tap Open
- Once added, tap the folder to view its contents
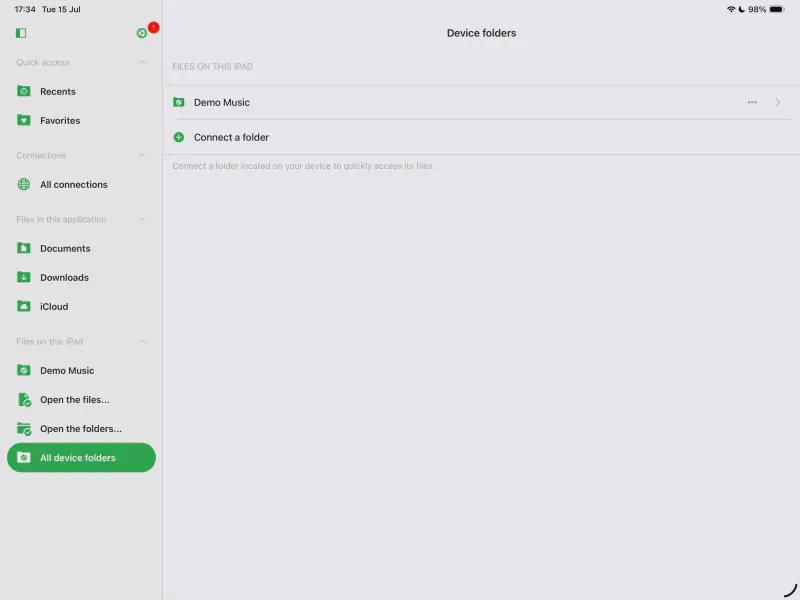
macOS / iPadOS
- Scroll to Files On This Device in the sidebar
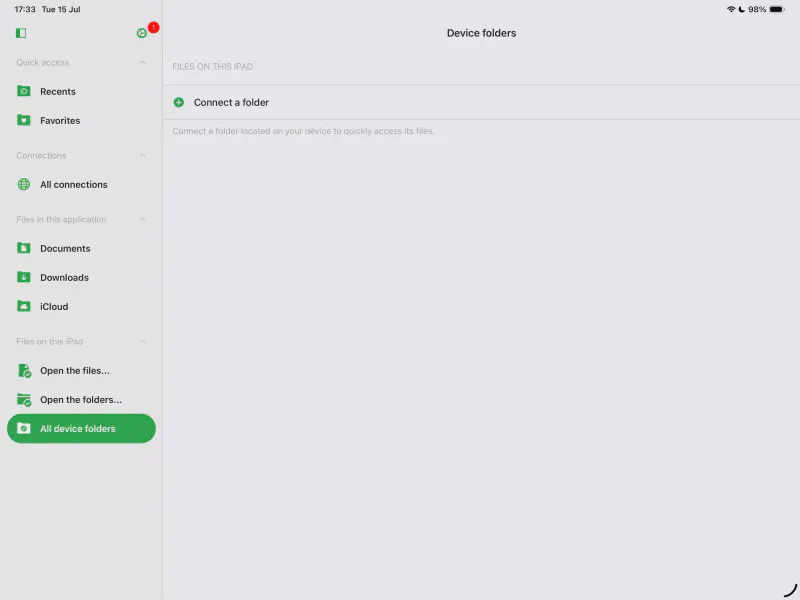
- Tap All Device Folders
- Tap Connect a Folder
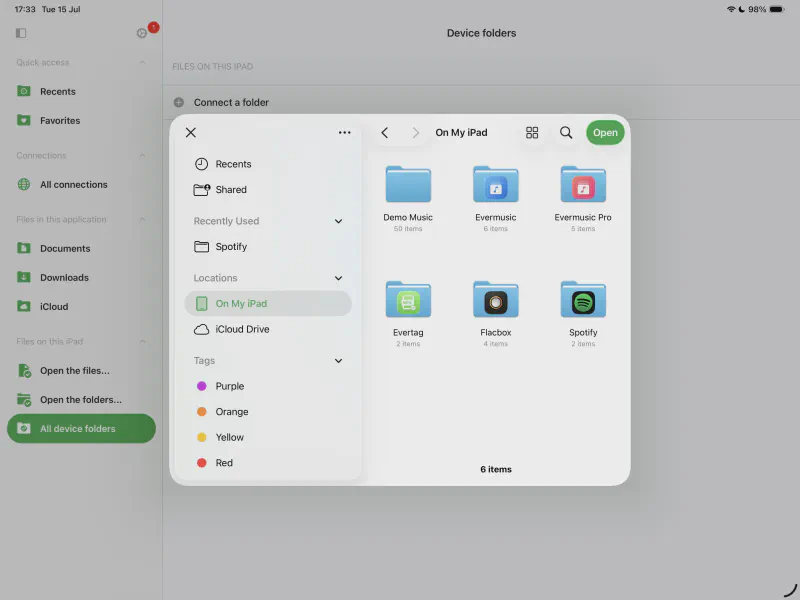
- Choose the Spotify folder and tap Open to confirm
- Tap the connected folder to view and edit its contents
Tag Editor
The Tag Editor is the main workspace where you view and modify metadata of your audio files.
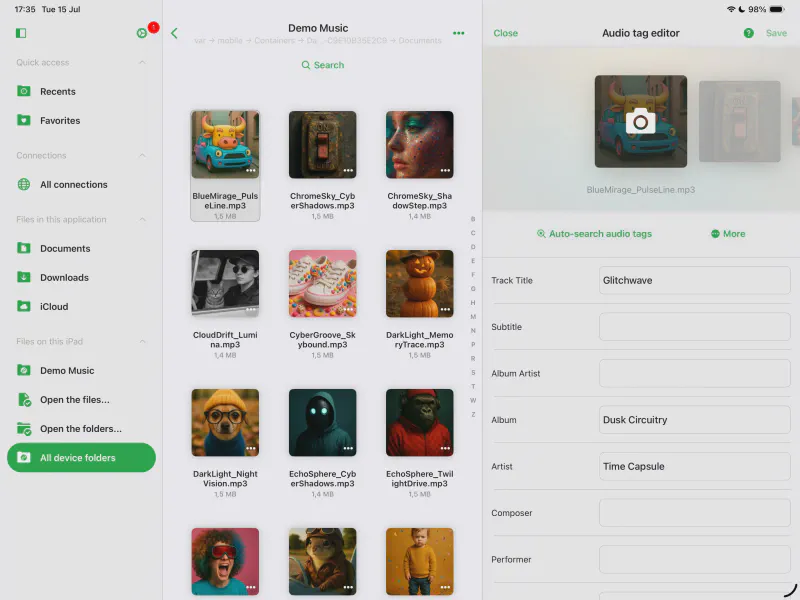
Editing Modes
Evertag supports two modes of editing:
-
Single-File Mode
- Swipe left or right through the artwork carousel
- Edit core tags such as Title, Artist, Album, Genre, Year, etc.
-
Batch Mode
- Select and edit multiple files at once
- Tap Edit several files simultaneously at the bottom of the screen
Single-File Mode: Extended Tags
To reveal over 120 additional tags, scroll to the bottom of the tag editor screen and tap Show Extended Tags.
Tags include:
- MusicBrainz Tags
- Lyrics
- Advisory Ratings
- Composer, Performer, Compilation
- BPM, Rating, Disc/Track Numbers
Batch Mode: Edit Multiple Files
You can start batch mode from:
-
File Manager
- Tap More actions (•••) > Select files > Edit audio tags
-
Tag Editor
- Tap a file > scroll down > tap Edit files simultaneously
Once your edits are done, tap Save.
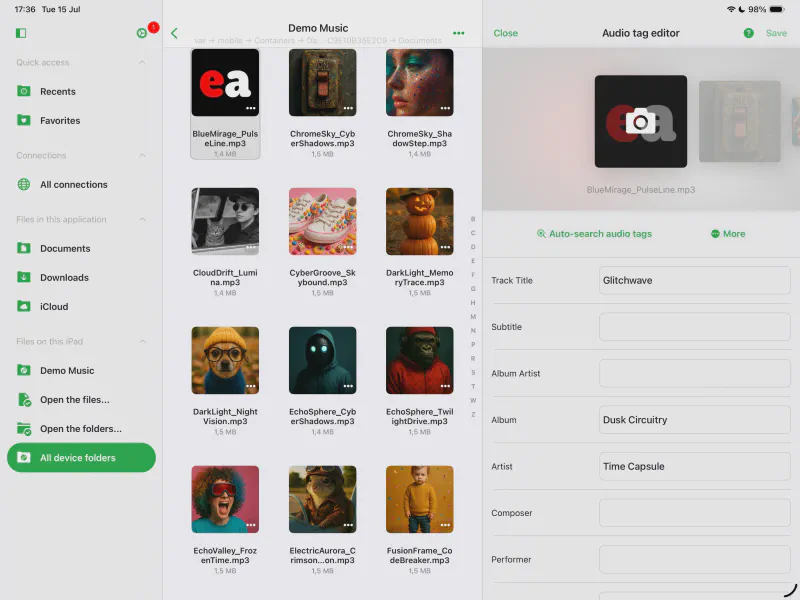
Edit Album Cover
To replace or add new album artwork:
- Tap the Camera icon on the artwork carousel
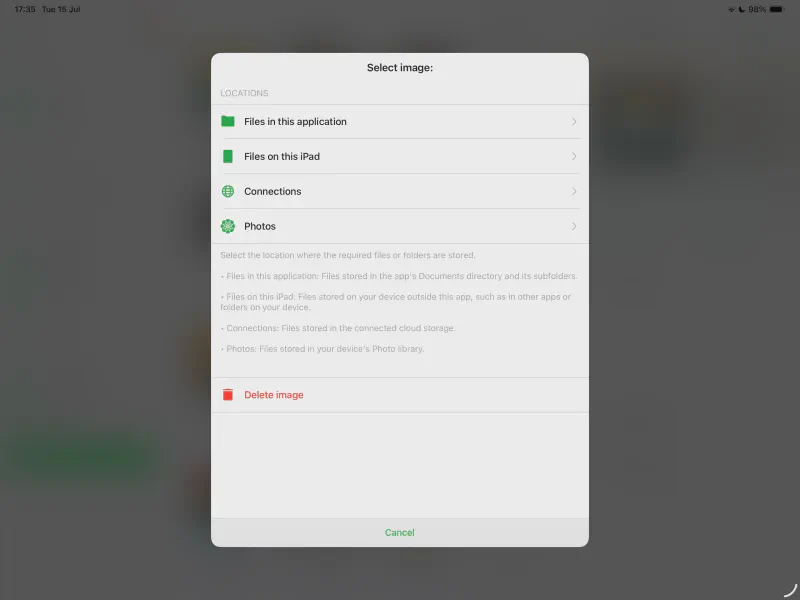
- Select an image source (Photo Library, Local Files, Cloud)
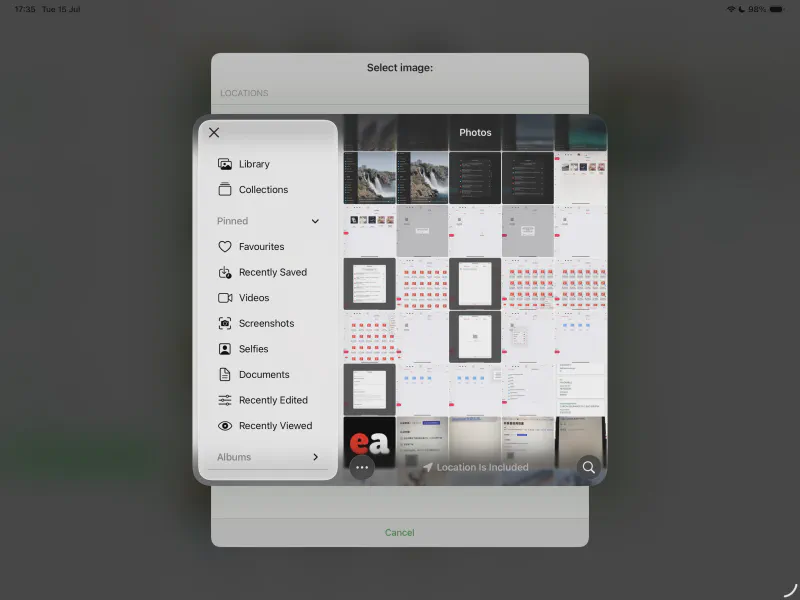
- Pick the image to use as cover art
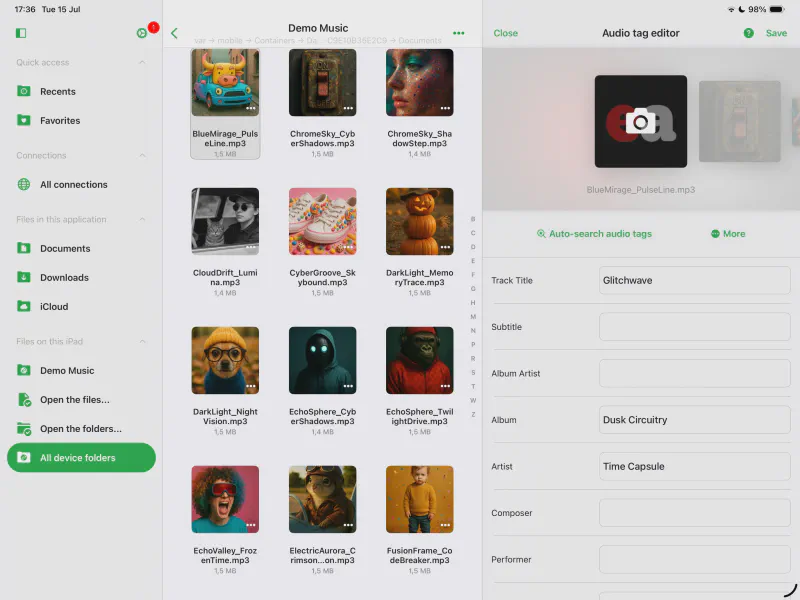
- Tap Save to apply the changes
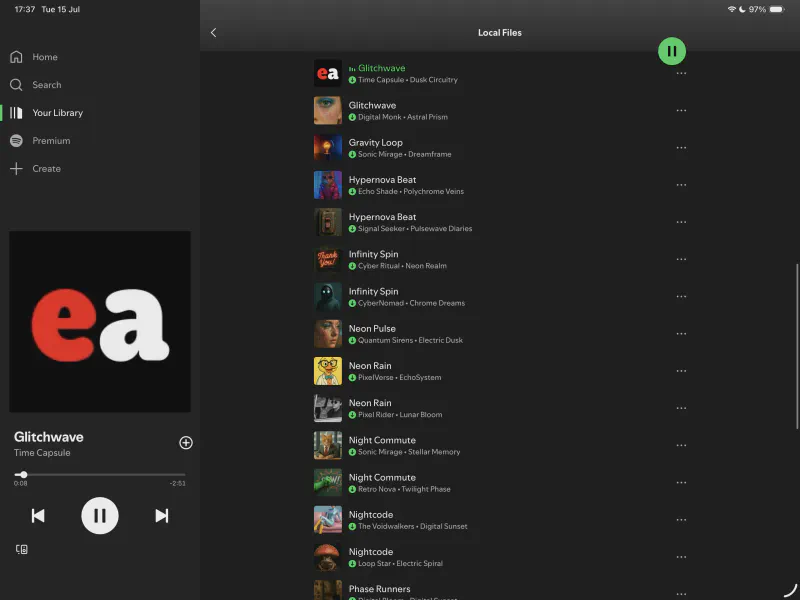
Update Spotify Library
After saving your tags, go back to the Spotify app.
Open the Local Files section again. You should now see updated artwork and tags for your local tracks.
If updates don’t show immediately, force-close Spotify and reopen it. This triggers a metadata refresh.
Conclusion
That’s it! You’ve now successfully enabled Spotify’s local file library, added your music, edited album covers and metadata using Evertag, and refreshed your Spotify app to view the changes.
This method is ideal for music collectors, independent artists, and anyone who wants full control over how their music appears inside Spotify — especially when using offline or personally curated tracks.
Need help tagging FLAC, MP3, or other high-quality formats? Try Evertag — your personal audio tag assistant on iOS and macOS.